Practical espresso guidance · India

Starting with an espresso machine.
Build a better espresso setup from the start.

You have an espresso machine. The next decisions that matter are the grinder, coffee, basket and basic preparation equipment. This guide covers the essentials for building and using an espresso setup in India, with practical guidance drawn from the 9 Bar Social community.
3essential components
70+community members
51mmcommon basket size
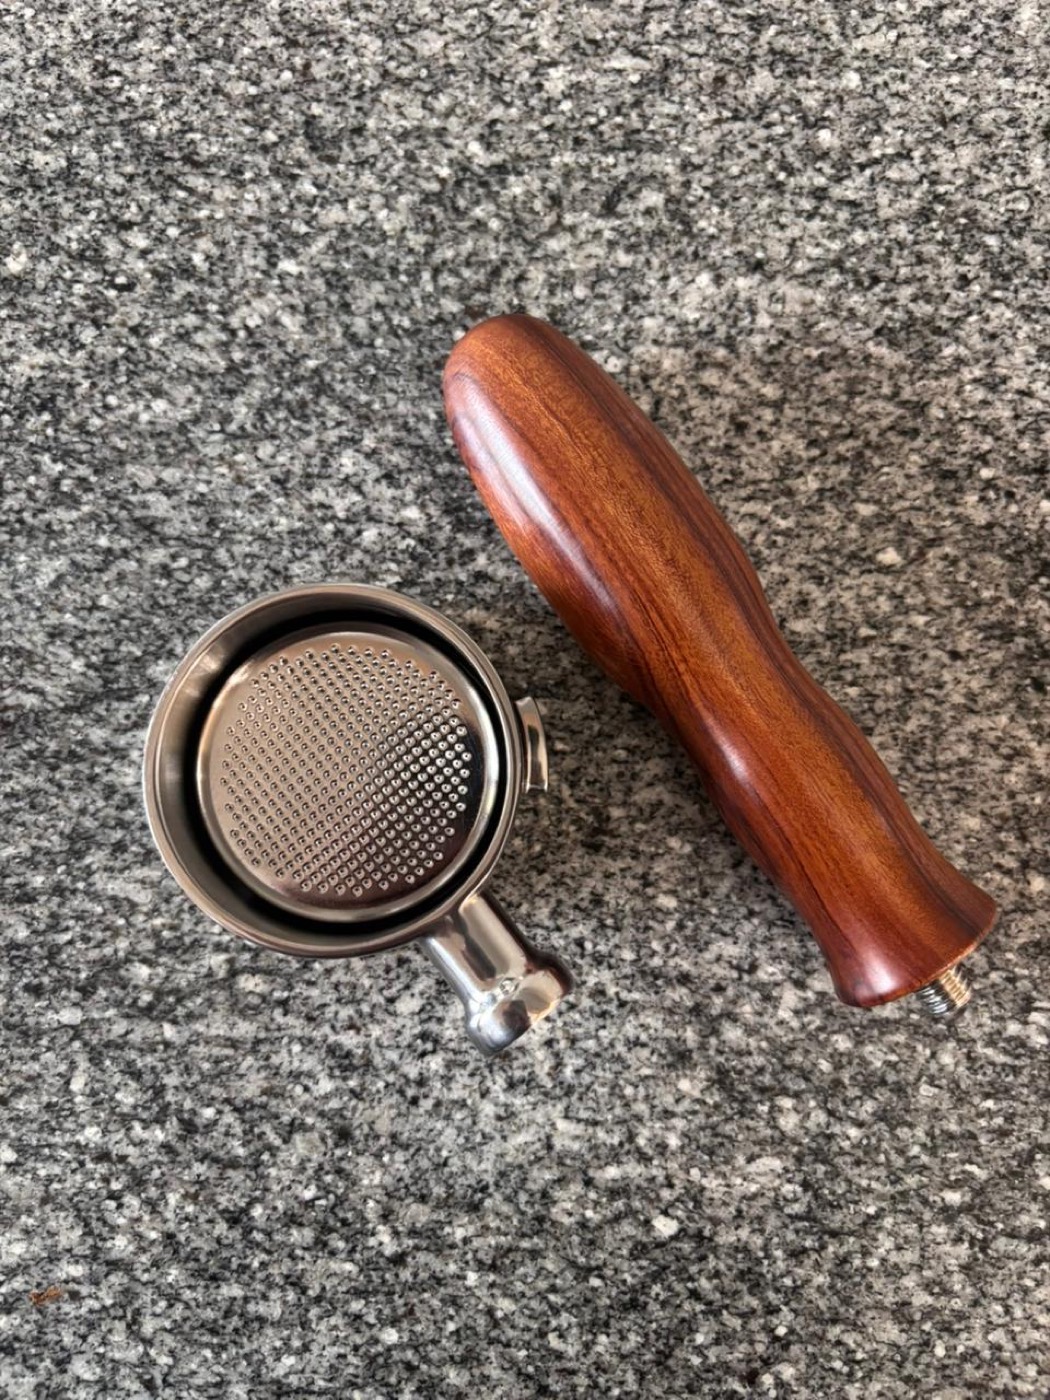
A bottomless THW portafilter with wooden handle and a precision basket on a granite counter
A bottomless portafilter is a useful upgrade for diagnosing extraction problems.
Getting started
⌄

01 The espresso starter kit

Use this checklist to track the equipment you have purchased. Progress is saved locally on this device.

02 The three most important components

Prioritise these three components. In most setups, the grinder deserves at least as much attention as the espresso machine.

#1

Fresh beans

The single biggest lever. Stale supermarket beans = sad espresso no matter what. Buy freshly roasted, rest 7–10 days off roast date, use within a month.

See bean picks →
#2

A real grinder

The grinder has a major effect on extraction quality. A capable grinder gives you consistent particle size and makes dialing in substantially easier.

Find your grinder →
#3

A non-pressurised basket

The main upgrade is moving from a pressurised basket to a non-pressurised basket. A precision IMS basket is a useful option, and a bottomless portafilter makes channeling easier to identify. A purpose-built bottomless portafilter is simpler than modifying the stock portafilter.

Baskets & portafilters →

Keep the stock pressurised basket or portafilter if you use pre-ground coffee or want a more forgiving workflow.

03 Choosing an espresso grinder

Espresso requires a fine, consistent, espresso-capable grind. A grinder designed only for filter coffee may make dialing in difficult. Filter the options by budget and type.

Choose an electric grinder if your budget allows. Manual grinders such as the K6 and C3 ESP can produce good espresso, but electric grinders are slower for daily use.

04 Choosing coffee beans in India

Medium / medium-dark roasts are the most forgiving place to start. Want to run lighter roasts? Use the high-temp flush trick below to pull a hotter, sweeter shot. Filter by vibe:

The community maintains a crowd-sourced spreadsheet of Indian coffee beans ↗ with roasters, prices and approximate ₹/gram figures.
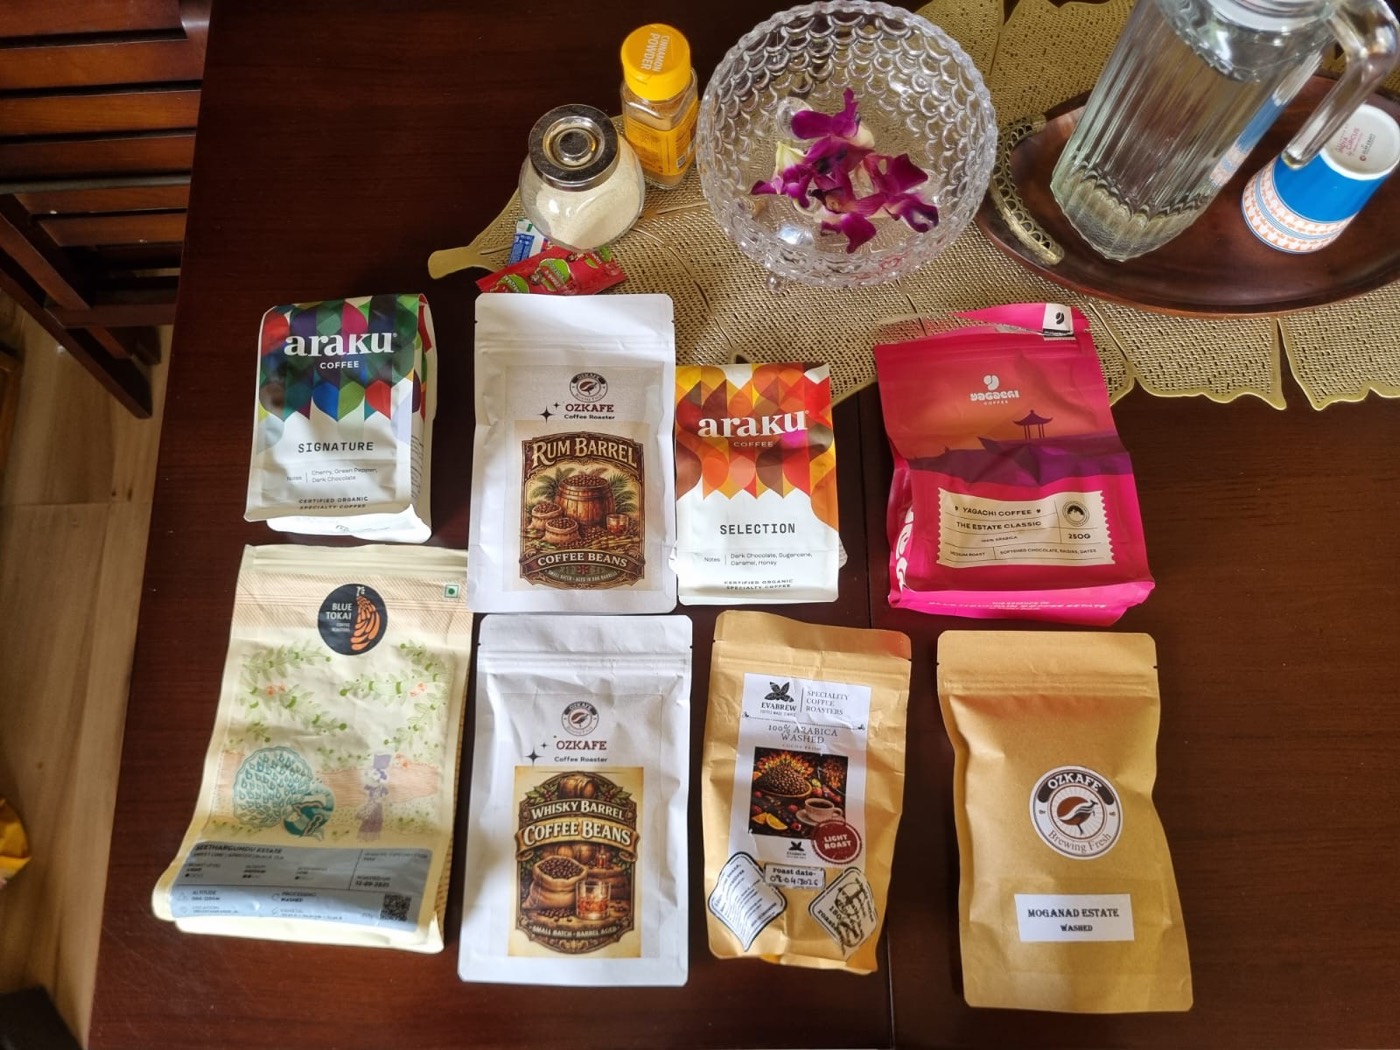
A spread of Indian coffee bean bags — Araku, Blue Tokai, Ozkafe barrel-aged, estate coffees
A selection of coffee beans suitable for comparing roast profiles and blends.

05 Portafilters, baskets & equipment

For compatible accessories, 51mm is a common basket and portafilter size. Always check the product listing and specifications before ordering.
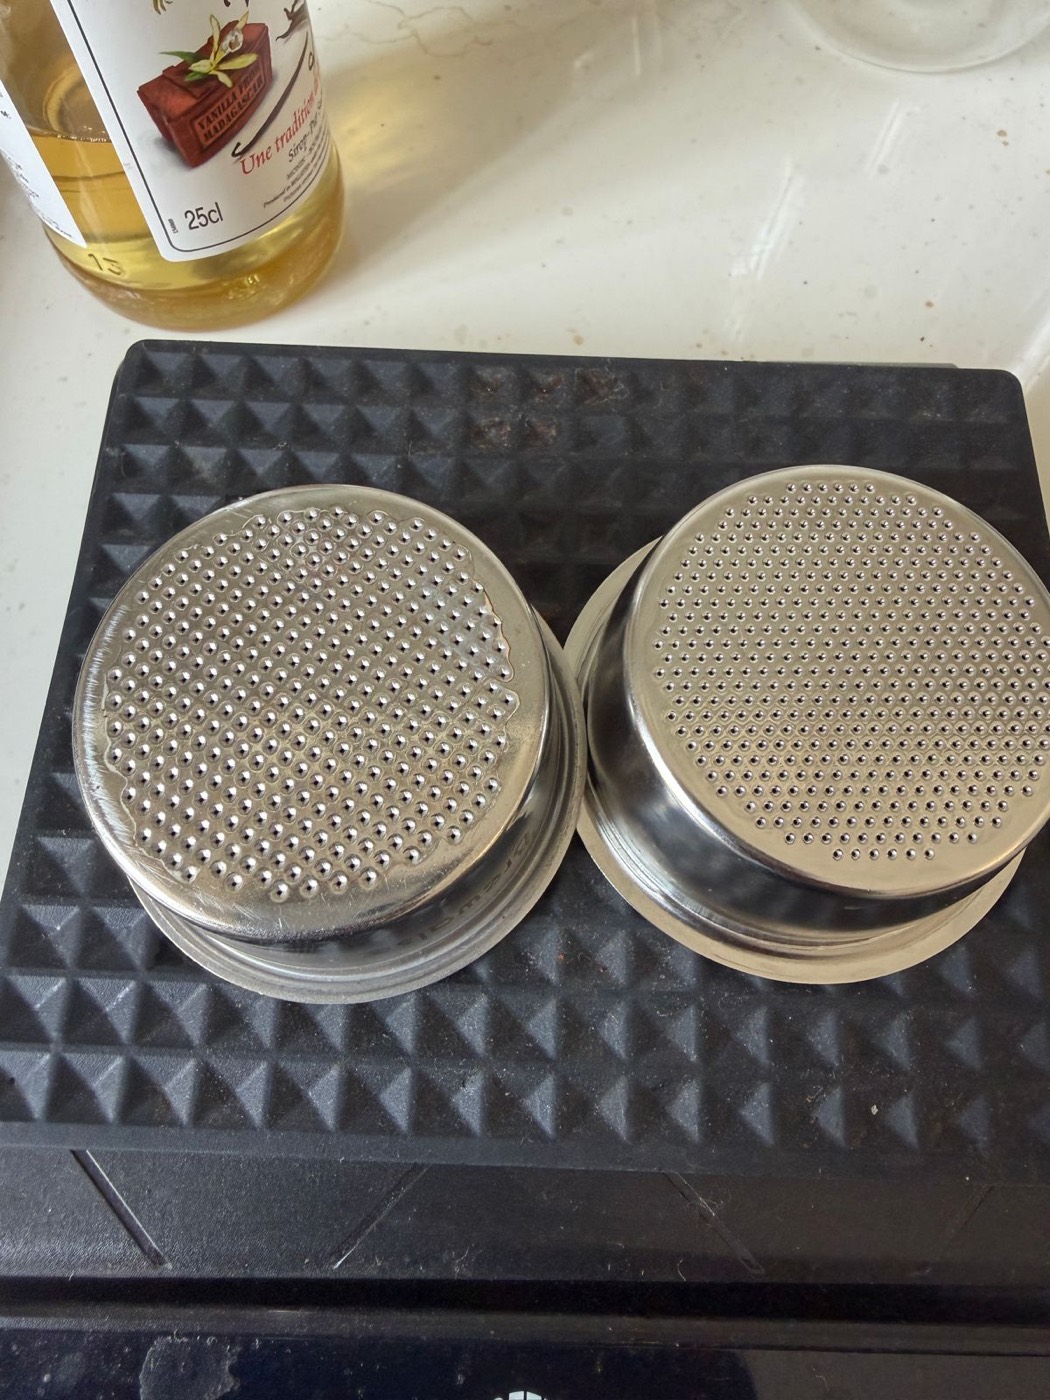
Bottomless portafilters

Two espresso baskets side by side — a generic basket on the left and a precision IMS basket on the right
Left: generic basket. Right: precision (IMS) basket — laser-cut holes, more even flow.

Baskets

The basket matters more than the portafilter body. A precision basket (IMS-grade) gives more even extraction. But honestly: a decent grinder + fresh beans + a good-enough basket beats a fancy basket with bad grind.

    Never put a pressurised basket in a bottomless portafilter — you get foam, not crema, spraying everywhere.

    The accessory espresso setup

    Some accessories are essential for consistency; others are optional improvements to workflow and convenience.
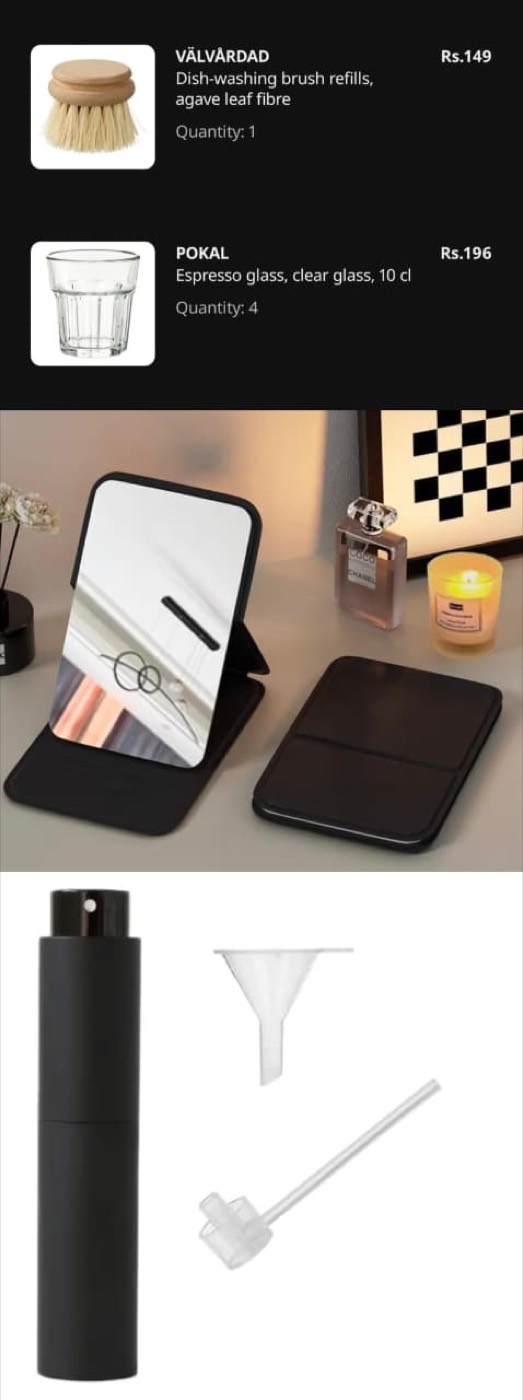
    An RDT spray bottle, funnel and WDT tool alongside espresso glasses
    Basic distribution and workflow accessories for an espresso setup.

    06 Dialing in espresso

    Stop trusting the buttons (the "2x" button pulls a lungo). Get a scale, weigh everything, change one variable at a time.

    ▶ Recommended dialing-in tutorial A practical introduction to dialing in espresso, covering grind size, dose, yield and extraction time. — youtube.com ↗

    The starting point

    Dose inShot outTimeRatio
    Double18 g36 g25–32 s1:2
    Single9 g~22 g25–30 s1:2.5
    Light roast18 g45–54 glonger1:2.5–1:3

    Timer starts the moment you press the button (coffee-water contact), not at first drip.

    1. Weigh your dose. ~17–18g fills a stock double basket nicely (with a puck screen).
    2. RDT: one spritz of water on the beans to kill static.
    3. Grind straight into the basket.
    4. WDT: stir with a thin needle to break clumps & distribute.
    5. Level & tamp until it stops moving. (You basically can't tamp "too hard" — you'd need a hydraulic press.)
    6. Puck screen on top, lock in, and pull onto a scale.
    7. Taste & adjust → see "Espresso troubleshooting" below.
    Run a hotter shot — the high-temp trick from Tom's Coffee Corner. The espresso machine's little thermoblock cools down between heating and brewing, so by default your shot brews cooler than ideal. The fix the group swears by: right before you pull, run a short blank flush of hot water through the empty group head to pre-heat it, then lock in your portafilter and brew immediately. Even better — do back-to-back flushes so the boiler stays hot, and pull the moment it's ready. Your shot runs noticeably hotter and extracts sweeter, which unlocks lighter roasts the espresso machine otherwise struggles with. Watch the trick ↗ (and a second take ↗).
    Pull a "salami shot" to train your palate. Put 3–4 small cups under a (bottomless) shot and swap them every few seconds as it pours. Taste each in order: the first pours sharp & sour (the acids come out first), the middle is sweet & balanced, and the last turns thin & bitter. Doing this once teaches you what "sour vs bitter" actually tastes like — so the "Espresso troubleshooting" advice below finally clicks.
    The goal, live: a group member's bottomless shot — 18g in → 35g out in ~24s. "Itna crema kaise?!"

    07 Espresso troubleshooting

    Select a symptom to review common causes and practical adjustments.

    Select a symptom to review common causes and practical adjustments.

    08 Steaming milk with a home espresso machine

    Steam power varies between machines. Technique, milk temperature and wand positioning have a greater effect on the result than power alone.
    ▶ Milk steaming, demoed for this machine A practical milk-steaming demonstration covering wand position, air injection and creating a stable whirlpool. — youtube.com ↗
    1. Purge first. Run the wand 20–30s until you get real steam pressure. 5 seconds is not enough — "an un-purged wand is useless."
    2. Cold milk, right jug. Chill the milk (and the pitcher in the freezer). Lower-fat tetra milk foams easier for beginners — Amul Blue or Akshayakalpa are frequently useds.
    3. Stretch: tip just at the surface → listen for a soft "tsss… tsss" as you inject air for ~3–5s.
    4. Texture: submerge slightly to create a whirlpool and heat through, no more hissing.
    5. Stop at ~60–65°C. Above 65°C milk proteins break and it'll never be silky again (and it scalds).
    Cappuccino = more foam · Latte / flat white = less, silkier.
    Start with roughly 100–140g of cold milk and adjust the amount to suit the drink and pitcher.
    Purge & wipe the wand immediately after every steam or it clogs.
    Practise for free with dish soap. Fill the pitcher with water + a drop of dishwashing liquid and steam that — it stretches and textures just like milk, so you can drill your wand technique and latte-art pours without wasting milk or coffee. Rinse well after.
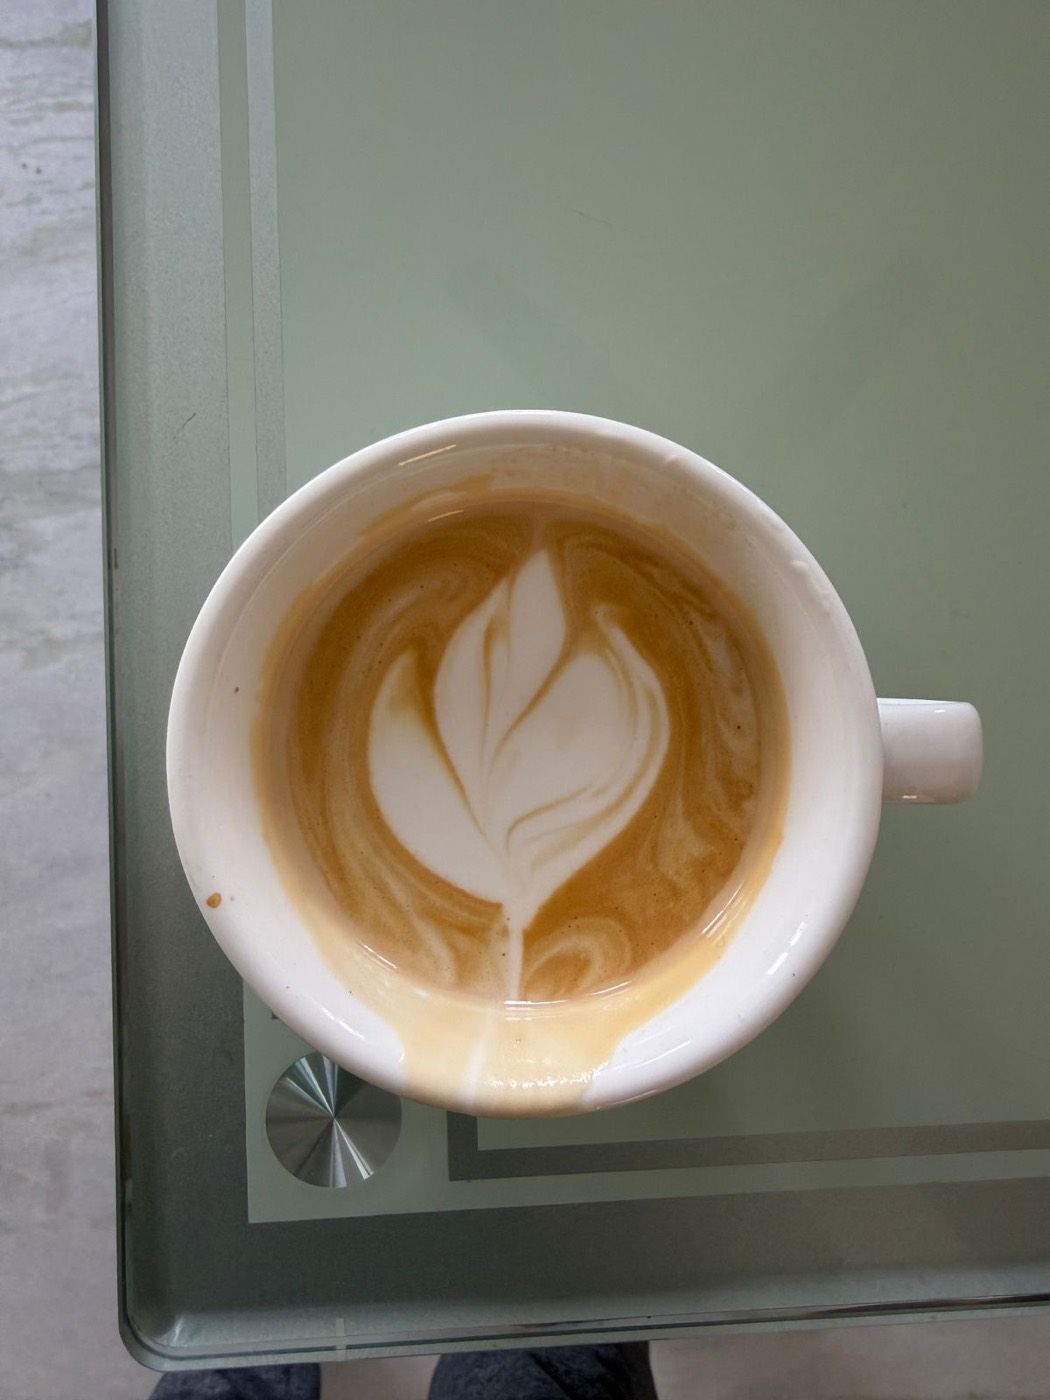
    A latte with a tulip latte-art pattern
    Your goal. Eventually. Maybe. (It's mostly milk texture.)

    09 Machine troubleshooting

    Common machine issues and practical checks before service or repair.

    10 Frequently asked questions

    Common questions about equipment, extraction, coffee and daily use.

    11 Further learning

    These channels cover the fundamentals of espresso preparation, equipment and milk steaming.

    ▶ Further viewing Morgan Eckroth discusses coffee equipment and the tendency to spend heavily on the hobby. — youtube.com ↗

    12 Where to buy

    India-specific. Prices wander — treat these as starting points, not gospel.

    If your budget is around ₹25k, the HiBrew H10A is another option to consider, particularly if temperature control, a pressure gauge and stronger steam performance are priorities. Compare specifications, current pricing and warranty terms before buying.

    13 Advanced modifications and resources

    Resources for users interested in modifications, measurement and deeper technical work.